

How to Upgrade Your Gaming Desk: A 2026 Guide
Table of Contents
- Start With a Plan: Prioritizing Your Gaming Desk Upgrade
- Gaming Desk Accessories That Make the Biggest Difference
- Building an Ergonomic Gaming Desk Setup for Long Sessions
- Budget Gaming Setup Upgrades Under $100
- Gaming Desk Cable Management and Power Safety
- Monitor Placement, Viewing Angles, and Dual Monitor Setups
- How to Measure Whether Your Gaming Desk Upgrade Worked
- Frequently Asked Questions
Last Updated: October 10, 2026
Start With a Plan: Prioritizing Your Gaming Desk Upgrade
Learning how to upgrade your gaming desk starts with one honest question: what actually bothers you during a session? Most people answer "everything," then buy a mouse pad first because it's cheap. That's backwards. The upgrades you touch every minute deliver more than the ones you notice once a week.

Here's the framework we recommend for deciding what to change first:
| Priority | Upgrade | Typical Cost | Why It Ranks Here |
|---|---|---|---|
| 1 | Monitor position (stand or arm) | Low to mid | Fixes neck strain immediately |
| 2 | Keyboard | Mid | Your hands are on it constantly |
| 3 | Mouse | Low to mid | Aim precision depends on it |
| 4 | Desk mat and surface | Low | Ties the whole setup together |
| 5 | Audio (speakers or headset) | Mid | Changes how games feel |
| 6 | Lighting and cable work | Low | Reduces daily friction |
Anything that changes your posture or grip ranks at the top; anything cosmetic can wait. Set your budget before you browse, not after.
Gaming Desk Accessories That Make the Biggest Difference
Gaming desk accessories earn their keep when they solve a problem you hit daily, not when they merely look good on camera.
Desk mats and surface coverage. An XL desk mat covers your keyboard and mouse zone in one piece, so nothing drifts mid-match. NORYZO's RGB Gaming Mouse Pad with Wireless Charging outputs up to 15W for Android and 7.5W for iPhone 8 and newer at $39.99.
Monitor arms and stands. A monitor arm frees desk space and lets you set exact height and tilt, but it needs a compatible desk.
Keyboards. A keyboard you enjoy typing on changes how long you can play without fatigue. NORYZO's 75% Hot-Swap Mechanical Keyboard with RGB Backlight at $64.99 covers all three: MX-compatible hot-swap sockets, a 75% layout that keeps arrow keys and function row, per-key RGB, USB-C, and Windows/Mac compatibility.

Mice. Grip style (palm, claw, fingertip) and hand size determine fit more than sensor specs for most players.
Audio. Speakers vs. headset is a room problem, not a quality problem. Open-back headphones leak sound and let you hear your room; closed-back isolate you but trap heat.
Lighting. A bias light behind the monitor reduces eye strain in dark rooms by lowering the contrast between screen and wall. A clip-on ring light is better if you're on camera.

Cable ties and management accessories. Reusable velcro ties beat zip ties because you can adjust them.
Everything else, LED figurines, decorative panels, RGB coasters, is decoration. Don't let it eat the budget you needed for functional pieces.
Building an Ergonomic Gaming Desk Setup for Long Sessions
An ergonomic gaming desk setup keeps your body neutral for hours: feet flat, back supported, elbows near 90 degrees, and the top of your screen roughly at eye level. You don't need expensive furniture, just the right heights and a few habits.
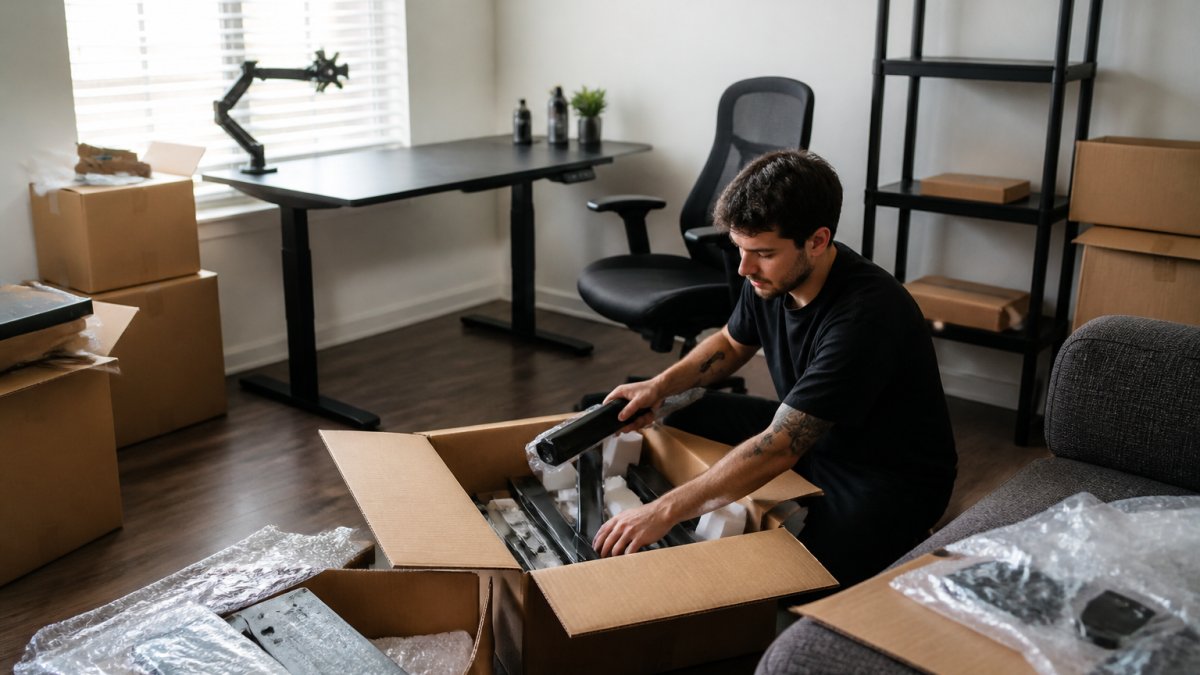
Work through these adjustments in order:
- Set chair height so your feet rest flat and your thighs are level.
- Raise the monitor so the top third of the screen sits at eye level.
- Bring the keyboard close enough that your elbows stay bent, not extended.
- Position the mouse so your wrist stays straight, not angled outward.
- Add light behind the monitor so your eyes aren't fighting a bright screen in a dark room.
The chair usually matters more than the desk. A supportive chair with adjustable height and lumbar support does more for a six-hour session than any peripheral. If your chair is fixed and uncomfortable, that's your first purchase.
Budget Gaming Setup Upgrades Under $100
Budget gaming setup upgrades work best when you spend on the two things your body contacts most: your keyboard and your mouse surface. Here's a tiered framework you can scale up or down.
Tier 1: Under $25, fix the friction points. At this level you're just removing daily annoyances.
Tier 2: $25-$75, upgrade one contact point. Pick either your keyboard or your mouse surface, not both. NORYZO's 75% Hot-Swap Mechanical Keyboard with RGB Backlight fits this tier at $64.99: hot-swap sockets let you replace any MX-compatible switch without soldering, the 75% layout keeps your arrow keys and function row while pulling your mouse closer, and per-key RGB, USB-C, and a braided cable come standard.
Tier 3: $75-$100, combine two upgrades. Pair the keyboard above with a desk mat that doubles as a charger and you've upgraded your two main contact points for just over $100 combined. NORYZO's RGB Gaming Mouse Pad with Wireless Charging at $39.99 replaces two purchases, a mat and a charging pad, with one.
Tier 4: Above $100, address posture and audio. Once the contact points are sorted, the next highest-impact spend is a supportive chair or a monitor arm, not another peripheral.
RGB Gaming Mouse Pad with Wireless Charging, XL Desk Mat →
How to decide what to buy first. Ask three questions: How many minutes per session does this affect? Does it change my posture or grip? Would I notice if it disappeared?
Gaming Desk Cable Management and Power Safety
Gaming desk cable management is the least glamorous upgrade and the one that quietly improves every session. Tangled cables collect dust, snag your mouse at the worst moment, and make cleaning a chore. Fifteen minutes of routing fixes all three.
A practical routine:
- Group cables by direction: power one way, data the other.
- Route everything along the back edge of the desk, not across the middle.
- Bundle runs with reusable velcro ties, not zip ties, so you can change them later.
- Label both ends of anything you unplug often.
- Leave a service loop behind the PC so you can pull it out without unplugging everything.
Power safety deserves equal attention. Plugging a monitor, PC, speakers, and three chargers into one cheap strip invites tripped breakers and worse. Use a surge protector rated to match your load, keep it off the floor, and never daisy-chain strips. If a cable runs warm to the touch, stop using it.
The payoff isn't just tidiness: a clean cable run lets you swap a peripheral in seconds and protects the devices you just spent money on.
Monitor Placement, Viewing Angles, and Dual Monitor Setups
Monitor placement decides whether your neck hurts by hour three. The center of your primary screen should sit directly in front of your face, with the top edge near eye level and roughly an arm's length away. Get that right and most of the "my setup feels off" problem disappears.
Dual monitors complicate it. Two options work well:
- Side by side: Put your main monitor centered, the second one angled toward you. Both tops at the same height. Best for wide desks.
- Stacked: Main monitor at eye level, second one above or below. Best when desk width is limited.
Viewing angles matter on both. Cheaper panels wash out from the side, so if you sit off-center, check how the screen looks from where you actually sit. If you game seriously, variable refresh features like G-Sync and FreeSync reduce tearing, but only if your monitor and cable support them.
Measure before you buy. A 32-inch panel that looks reasonable in a store can overwhelm a narrow desk once it's an arm's length from your face.
How to Measure Whether Your Gaming Desk Upgrade Worked
Measuring whether an upgrade worked takes one week and three questions. Did discomfort drop? Did the task get easier? Would you buy it again? If you can't answer yes to at least two, it didn't earn its place.
Try this simple check:
- Note your discomfort level after a long session, before and after the change
- Time one repetitive task, like switching devices or finding a cable
- Check whether you still use the item daily after two weeks
- Ask whether it solved the problem you bought it for
Most people skip this step and keep buying. A short review after each change keeps you honest.
One more signal: if you stop noticing the upgrade, it's probably working. Good ergonomics and clean cable routing fade into the background; bad ones announce themselves every session.
Upgrading a gaming desk is really a series of small decisions about where your money goes first, and the wrong order costs you twice. NORYZO stocks the pieces we'd reach for first: the RGB Gaming Mouse Pad with Wireless Charging to cover and charge in one move, the 75% Hot-Swap Mechanical Keyboard that grows with your switch preferences, and the Clip-On Ring Light for the calls between sessions. Every order ships with 24/7 customer support and a secure checkout.
Frequently Asked Questions
What is the best desk setup for improving posture?
Position your monitor so the top third of the screen sits at eye level, roughly an arm's length away. Keep your keyboard and mouse close enough that your elbows stay near 90 degrees. An ergonomic gaming desk setup also means feet flat on the floor or a footrest, and your chair supporting your lower back. These adjustments reduce neck strain and wrist pressure during long sessions.
How can I improve my gaming desk without replacing it?
You do not need a new desk to see real improvement. Start with gaming desk accessories like an XL desk mat that covers your keyboard and mouse area, a monitor arm to free up surface space, and a clip-on ring light if you stream or take video calls. Cable management clips and a charging station also cut clutter fast. These changes cost far less than a new desk and often deliver a bigger daily impact.
What are the most useful budget gaming setup upgrades?
Focus on what you touch and see every session. A hot-swap mechanical keyboard, a quality mouse with software customization, and an oversized desk mat are the three highest-impact budget gaming setup upgrades. Add a monitor stand or arm to fix viewing angle, and a wireless charging station to clear cable clutter. Each of these stays well under $100 and delivers noticeable comfort and performance gains.
How can I keep cables organized on a gaming desk?
Good gaming desk cable management starts with routing everything along the back edge of the desk. Use adhesive clips or a cable tray to bundle power and display cables together. Label both ends of each cable before you route it. Mount a power strip under the desk so only one cord reaches the wall outlet. This setup keeps your desk surface clear and makes troubleshooting or swapping gear far easier.
How should I arrange my monitor, keyboard, and mouse for gaming?
Place your primary monitor directly in front of you with the top edge near eye level. If you run dual monitors, angle the secondary screen inward so you turn your head, not your whole torso, to see it. Keep your keyboard centered and your mouse close to its right edge so your arm stays relaxed. A 75% keyboard frees extra space for mouse movement, which matters in competitive games.
How do I know if a gaming desk upgrade actually helped?
Pick one or two things to track before and after each change. Note how your neck and wrists feel after a two-hour session. Time how long it takes to find a cable or swap a peripheral. If you stream, check whether your lighting and audio look better on a test recording. If a change does not improve comfort, speed, or how your setup looks on camera, return it and try something else.